Showing posts with label diy. Show all posts

Monday, July 16, 2012

Bicycle Diaper for Baby Paige


My niece Paige just turned 1 month old last July 6 and I decided to give her a gift that she can use.
Although, she could not appreciate the design I made but her mom (my sister) really likes the bicycle diaper i make for her little angel. This is my very first time to create a stuff from diaper. Hope to make more on Paige every month celebration.

Thursday, July 5, 2012

DIY Nailart: Simple White Polka Dots


Simple but elegant looking blank and white polka dots with fuschia pink french tip


Materials needed:
Black Nail Polish of your choice, white 2 way nail art pen, fushcia pink and yellow nail art brush


Paint the nail black. Make sure to apply first a base coat to protect your nail :)


Make a diagonal line at the center of the thumb nail and half fill it with white 


Add another diagonal line using the fuschia pink nail art brush


On the black side, make a white polka dots


And make another diagonal line using yellow nail art brush


On the other remaining nails, make a french tip using the fuschia pink nail art brush'
and make some polka dots.

Hope you like this :)


Friday, June 8, 2012

DIY Nail Art Tutorial: Back to School

Hey It's Back to School and I miss being a student. New bags, shoes, notebooks and other school supplies reminds me of being a student. This DIY Nail Art brings me back to my school days.


Materials Needed: 
Red, Blue & Black 2 Way Nail Art Pen
White Nail Polish
Top Coat


Above picture, one coating of White Nail Polish, 
and below I think it's 3rd coating to get the desired texture


Using the BLUE 2 way nail art pen a make a horizontal lines


Next using the RED 2 way nail art pen make a vertical line so it will look like a note pad
Put 3 dots using the BLACK 2 way nail art pen, to have the notebook effect

Create a 5 + 21 at Thumb, XO at index finger, 
A + at Middle Finger and Smiley Face at Ring Finger


Create a Heart Shape at Pinky Finger


This is my Back to School Nail ! Ready to touch the keyboard :)


Thursday, May 31, 2012

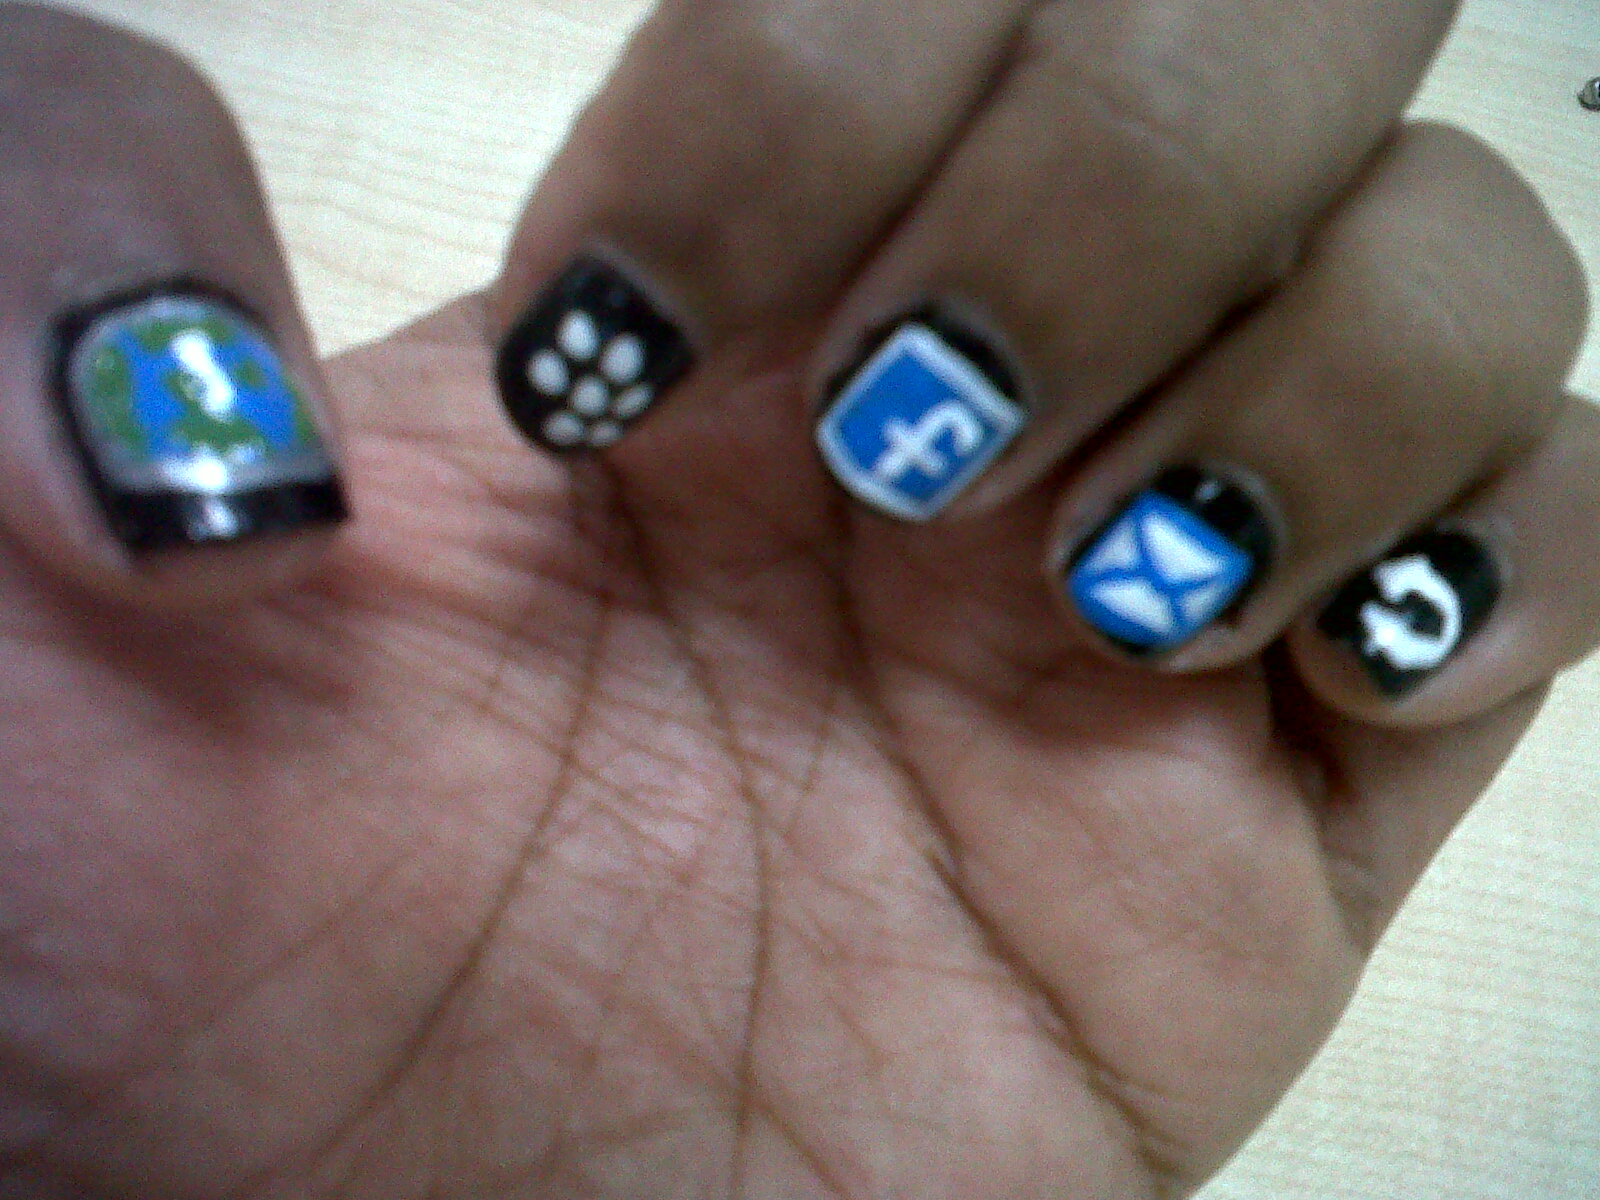
DIY Nail Art Tutorial: Blackberry Inspired

Another DIY Nail Art Tutorial from me. Its a Blackberry Inspired Theme. Hope you like it :)

This is what my Home Screen looks like


Materials Needed: 
- Green, Black & Clear Nail Polish
- Blue & White 2 Way Nail Art Pen-Brush
- Gray Nail Art Brush


Painted the nail black and on the index finger using the white nail art pen I make the Blackberry Logo


On the middle finger, using the blue 2 way nail art pen-brush, I make a square and filled in. Then using white nail art pen-brush I make small "f" and outlined the square.


On the ring finger, using white 2 way nail art pen-brush. I make square again and outlined it using blue 2 way nail art pen - brush and this time I make an envelope.


On the pinkie finger, I just make an arrow. And for the thumb, I make a globe.


This is it! It takes me a lot of time making this nail art. And glad I turns out nice :)


Wednesday, May 23, 2012

Paris with Love Nail Art Tutorial 1


Pink and Clear Nail Polish, Black and White 2-Way Nail Art Pen & Brush


1. First paint my nail pink
2. With the white 2-way Nail Art Pen I make stripes
3. For the thumb, create to vertical lines


4. Connect the lines to form triangular shape  and create another lines above it.

5.Make a half moon shape on index, middle and ring finger

6. For a lacey effect, make a small loops at the half moon shape. At the ring finger I just make a heart shape


credits to: http://www.youtube.com/watch?v=dTQzAFvNinU for this nail art tutorial


Sunday, December 18, 2011

Christmas Hat

No more lavish and extravagant christmas party. I could still remember our previous company christmas party, we've been celebrating it at hotels and as the economic crisis getting worst it was always held in a coliseum somewhere in Sucat. I missed the costume party and group performance and of course the christmas raffle. This year, it seems like there's no company christmas party. Our group will celebrate it at our own expense. Just like a school christmas party that we have to bring our own food or we have a potluck. A simple celebration and still there's a christmas hat contest. Im very much excited to this event, my skills in art will be use again.Hmmm.... materials to be used. Paper bags (thanks that all of malls and stores at Alabang are now No to Plastics) and Plastic Bags


Monday, December 5, 2011

DIY T-Shirt Necklace

Another DIY Project, this time with tutorial. Do you have old t-shirts that you don't want to let go? Why not try this cute project.

Friday, December 2, 2011

Leaflets as Christmas Wrapper

I pass by a shop somewhere in ATC and a saleslady hand me their christmas leaflet. I find it cute and colorful to make as wrapper for my gifts to give this Christmas. I also gather plastic bags we have at home to use as ribbon to make the gift more presentable and unique.

Do you find this idea cute and economical? At the same time eco-friendly.


Thursday, December 1, 2011

1st Day of Christmas

Christmas is really in the air. Yeah! Finally it's now my countdown to Christmas. I will able to post the christmas decors I made.  I did not spend a lot of money on the decors because I use scrap papers, old ribbons and cloth. It's unique because of  a personal touch.
papers covered with masking tape to form J shape and covered with polka dots fabric from my previous costume 


the base of this wreath was also made from paper

Tuesday, November 29, 2011

DIY T-Shirt Revamp


It's Bonifacio Day and at the same time Baclaran Day, what you're going to do this holiday? Before I visit my dentist I decided to post this Tshirt Reconstruction I did 2 days ago. I bought this Angry Bird Shirt last month and I find it boring so I decided to reconstruct it to fit my personality.


before the revamp

after (front view)
back view

I have a lot of oversized shirts so looking forward for more revamp shirt projects :)